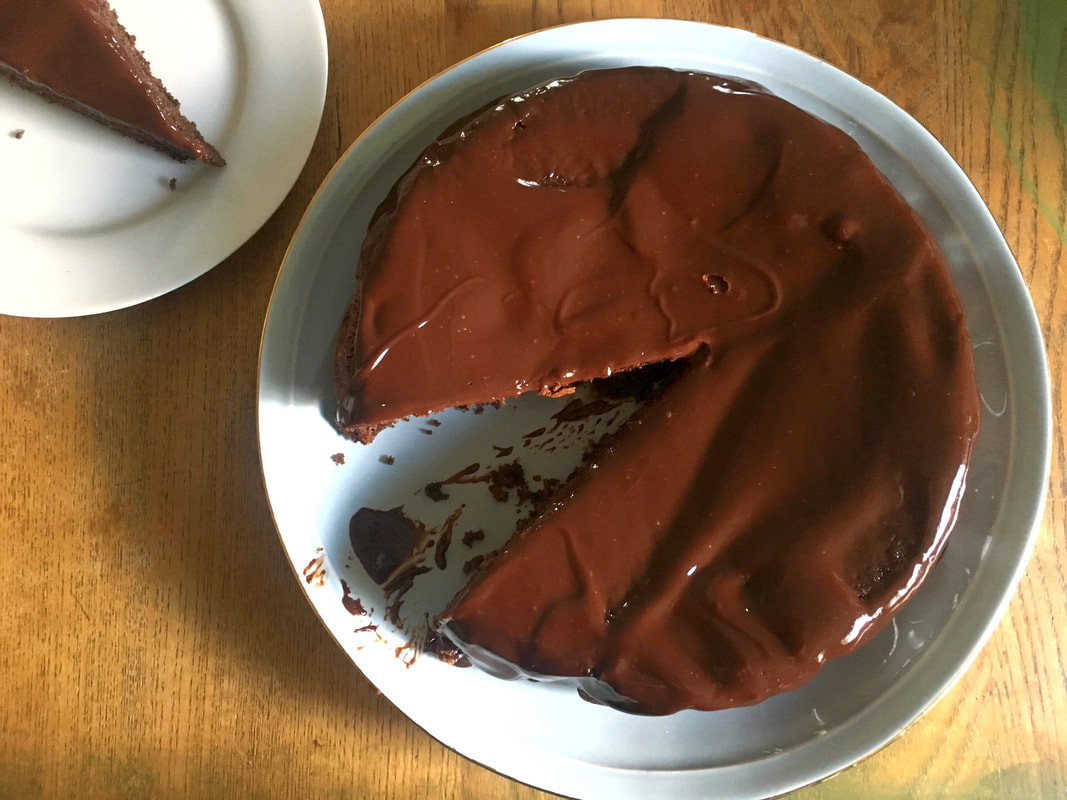
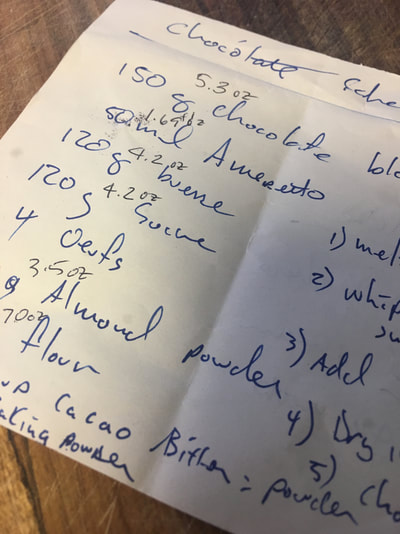
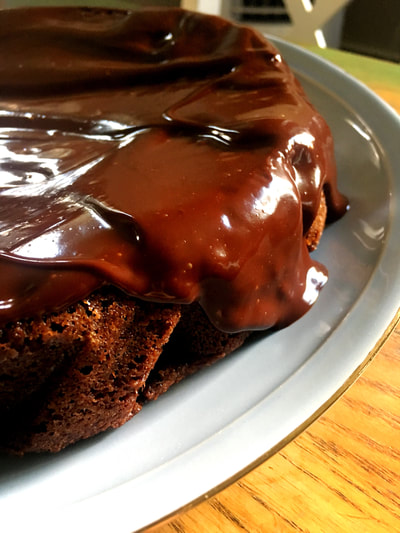
 A few weeks ago, my husband met a chef who was trained in France. This chef brought a cake to a get together and my husband simply asked for the recipe to bring home to me. What I received was a recipe written most in French using grams (no cups or ounces) with minimal instructions. Even though I prefer to bake by weight anyway, most of the products sold in the US are according to the US system (ounces, pounds) and most recipes are written using standard measurements like cups. So, I not only had to translate the French into English, which I did without any problems, thanks to years of reading French recipes and knowing French cooking terms but I also had to adjust the "grams" to the more recognizable "ounces." This is a great cake to throw together. It's simple, straightforward and deliciously chocolatey. For the recipe, I did not covert the weighted ingredients into volume (cups). If you like to bake, this a good time for you to spend a few dollars on a scale and learn that baking by weight is much more accurate. I have both a digital scale and a standard scale with a dial. Either one will work. No measuring cups required, except to use as a scoop. Chocolate Cake Yield: 1 9-inch cake
Ganache
Lightly grease a 9-inch cake pan and line the bottom with parchment paper (grease the paper). Set aside. Preheat oven to 350ºF. In the top of a double boiler, melt the chocolate. Stir until smooth. Add the amaretto. Set aside. In the bowl of a stand mixer, cream together the butter and sugar until light and fluffy. Add the eggs one at a time, mixing well after each addition. In a small bowl, stir together the dry ingredients. Add the dry ingredients the egg mixture. Mix well. Pour in the melted chocolate and mix well to combine. Pour batter into the prepared pan. Bake for 35-40 minutes or until the cake begins to pull away from the sides of the pan. Remove from oven and cool completely. Invert cake onto a plate. Set aside while you make the ganache. To make the ganache, warm the cream over medium heat until it begins to steam (right before it boils). Remove the cream from the heat and add the chocolate. Stir until melted. Pour the ganache over the cake. Allow to set for 30 minutes before serving. Slice and serve. Great with either vanilla ice cream or whipped cream. Or heck, just have it by itself.
5 Comments
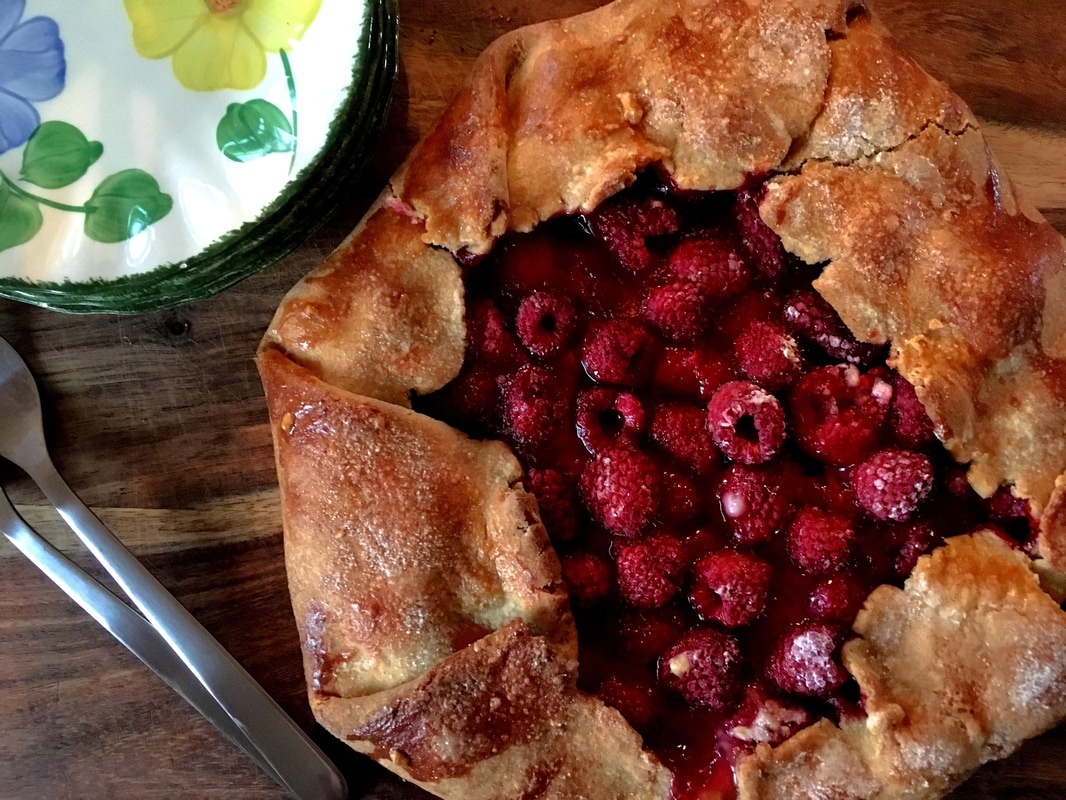 Simply put, I love pie. Fruit pies. Cream pies. Any kind of pie. I'd take pie over cake any day. A while back, I posted a recipe for an Apple Galette. Galettes are my favorite kind of "pie" because they are simple to make and usually contain less sugar and more fruit than a standard pie. The recipe below is a variation of that galette but it can be made with any fruit you have available. The crust is whole wheat but still tender and flaky. Really, it is. I don't suggest using frozen berries in this because of the excess moisture they contain. Fresh is best when making galettes. It lets the fruit really shine. Raspberry Galette with Whole Wheat Crust
**The spice (or herb used) will depend on the fruit you choose. Raspberries and cardamom go well together. Lavender and blueberries are a lovely match. Cinnamon goes with many fruits and berries. Or you can just leave the spice out. Preheat oven to 400ºF. Line a baking sheet with parchment paper. Roll the pie crust into a 12 to 14-inch circle. Transfer to the baking sheet. In a large bowl, toss together the fruit, sugar, salt, lemon juice, lemon zest, cornstarch, and cardamom. Mound the fruit mixture in the center of the crust, leaving a 1-2 inch border. Gently fold the pastry over the fruit, pleating it as you move around the crust. Brush pastry with the cream and sprinkle with sugar. Bake for 35-45 minutes or until the filling is bubbling and crust is golden brown. Cool for 20 minutes before serving. Serve slightly warm or at room temperature. Ice cream or sweetened whipped cream optional. Whole Wheat Pie Crust
In a the bowl of a food processor, mix together the whole wheat flour and salt. Add the butter and pulse 15-20 times until the mixture resembles coarse meal. In a liquid measuring cup, whisk together the honey, orange juice, water, and zest. With the motor running, pour wet ingredients through the feed tube. Pulse until the mixture starts to come together and is moistened. Place the dough on a lightly floured surface. Pat the dough together until it becomes a solid piece. Flatten into a disk. Wrap in plastic wrap and refrigerate for at least 1 hour. Can be made up to 2-3 days ahead of time. 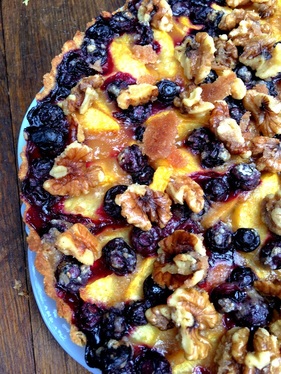 I've been baking a lot lately. I didn't intend for this to happen, but with all the delicious fresh fruit hanging out at the farmers market, tarts, pies, and cakes have been entering my mind lately. I see fresh, ripe peaches and before you know it, I'm making a tart. I love pie, but tart is a perfect way to show off fresh fruit like peaches. Pies can be heavy and sugar-laden. Tarts are lighter and typically contain less sugar, making them a perfect end to any summer meal. This tart in particular utilizes both fresh blueberries and peaches. You can purchase store-bought crust, or make your own. I offer a simple recipe below. The star of the show is the fruit, so pick ripe peaches (ones that are sweet and juicy) and big, plump blueberries. Peach and Blueberry Tart with Candied Walnuts Makes 11-inch tart Tart Crust:
Tart:
Candied Walnuts:
Preheat oven to 425ºF. Make the Tart Crust: In a mixing bowl, stir together both flours, salt, and sugar. Stir in the olive oil and milk. Mix until just combined. Transfer dough to an 11-inch tart pan with removable bottom. Press the dough into the pan covering the bottom and sides of the pan. Fill in any holes with excess dough. Make the Tart: Combine the peaches, blueberries, sugar, flour, orange zest, and salt in a large mixing bowl. Pour the mixture into the crust. You can try to decoratively arrange the peaches and blueberries around the crust or just leave it more free-form. Dot the tart with the butter. Bake for 35-45 minutes or until golden brown and bubbly. Sprinkle with candied walnuts. Cool completely. Serve with whipped cream or vanilla ice cream. Make the Candied Walnuts: Melt the butter in a skillet set over medium heat. Add the walnuts, sugar, and cinnamon. Stir and cook for 5 minutes or until the sugar is melted and the walnuts are coated in the mixture. Spread the walnuts onto a baking sheet. Cool completely before breaking apart. 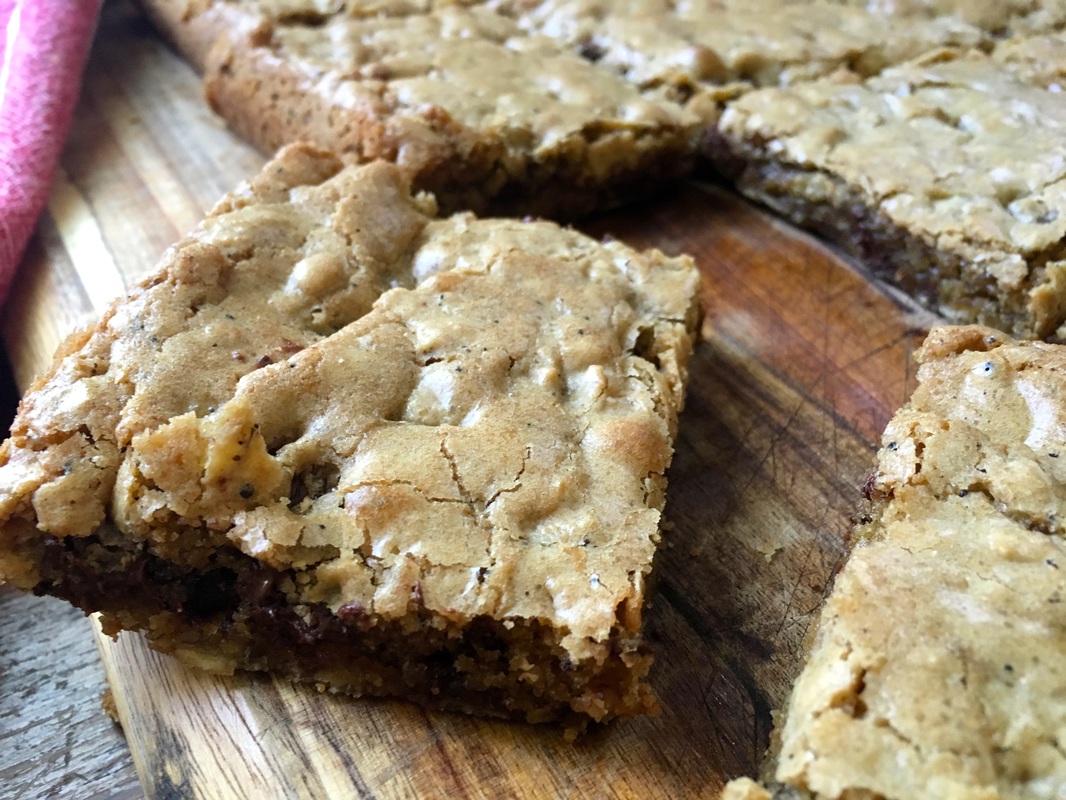 My kids often find me in the kitchen pulling out bowls and measuring cups and ask "What 'cha making, Mama?" After I tell them, they wait around the kitchen waiting for whatever I'm making to be done. It's like being on a cooking show or perhaps on Chopped. I feel a sense of urgency as they stare at me while I stir ingredients together. Sometimes I get the urge to just bake something. Most of the time I enlist the help of my daughter, who has decided that she now wants to learn how to cook/bake at the age of 14. But the other day, I decided to head off on my own and bake something delicious for the family. After spending the last few months baking with lentils, I felt my family needed a break from the little legume (we've eaten soooo many!). So, why not make brownies? However, I didn't have any cocoa powder, but chocolate chips were staring at me in the pantry. Blondies it is. Brown butter blondies. Browning the butter adds a nuttier flavor to the blondies and is definitely worth the extra step. Brown Butter Blondies Yield: 1 13 x 9 inch pan (about 12 blondies)
Preheat oven to 350ºF. Generously grease a 13x9 inch baking pan. Set aside. In a saucepan, melt the butter over medium heat. Cook the butter until browned, amber in color. Pour into a glass bowl and allow to cool for 15 minutes. In a mixing bowl, combine the butter, sugar, eggs, and vanilla. Stir in the flour, oats, baking powder, and salt. Mix until well combined. Fold in the chocolate chips. Spread batter into the prepared pan. Bake for 20-25 minutes or until lightly golden brown. Cool on a wire rack. Cut into squares. Be sure to share. |
New Book!Shining Star Archives
October 2022
Recipe Categories
All
|
Home |
About |
Resources |
About Marcy |
Contact |
Copyright © 2015


 RSS Feed
