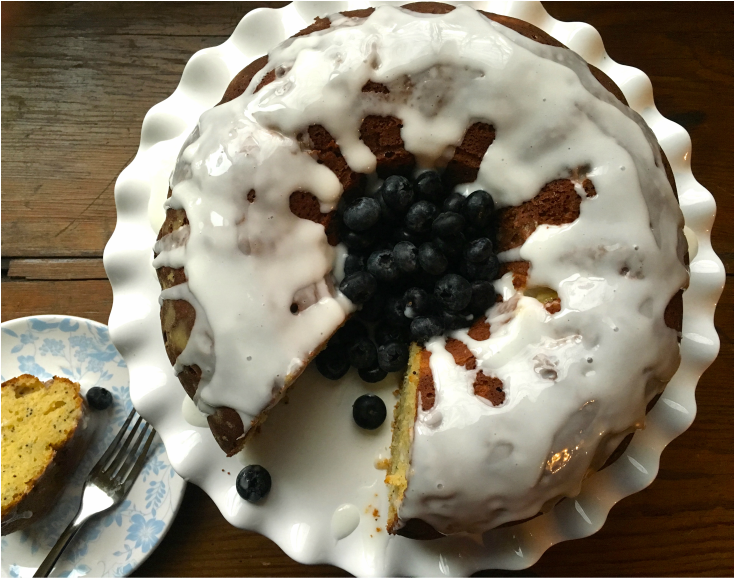
 I love replacing butter in recipes with olive oil. Even though I'm a fan of butter, extra virgin olive oil brings a nice fruity flavor to cakes and other recipes. Butter can be heavy at times in flavor and texture. By using olive oil, this cake is light and the perfect end to a meal. Aside from cutting the lemon into segments (pictures below), this recipe is relatively easy to put together. Serve with fresh berries and you have a nice, lovely cake to be enjoyed any time. Note about the olive oil: Use extra virgin olive oil for the best flavor. Extra virgin is the first pressing of the olives resulting in the most fruity, fresh flavor of all the olive oils. Subsequent olive oils (virgin, pomace, etc) are made by pressing the olives a second or third time to extract the oil. I baked this in a bundt cake pan but you can use any cake pans you want or even use muffin tins. Lemon Olive Oil Cake Yield: 1 10-inch bundt cake (or 1 9 or 10-inch cake) Cake:
Icing:
Supreme or segment the lemons (pictures below): Remove the zest (the yellow skin) of the lemons with a fine grater. You should have about 1-2 tablespoons lemon zest. Set the zest aside. Cut each end of the lemon enough to revel the flesh. Cut between the pith (the white part) and the flesh of the lemon to fully remove the outer skin. Hold the lemon over a bowl. Cut out each segment of flesh between the membranes and place in a bowl. When all the lemon segments have been removed, squeeze the lemon over the bowl; discard any seeds. In all, you should have about 1/2 cup lemon segments and juice. Set aside until ready to use. Make the Cake:
Preheat the oven to 350ºF. Grease and flour a bundt pan, cake pans, or muffin tins. Set aside. In a food processor, combine the lemon zest and sugar. Pulse for 10-15 seconds to blend together. Place the sugar in a mixing bowl. Add the olive oil, honey, eggs, and yogurt. Whisk to thoroughly combine. Stir in the lemons and juice. In a small bowl, whisk together white whole wheat flour, all-purpose flour, baking powder, salt, and poppy seeds. Add dry ingredients to the olive oil mixture. Stir to combine ingredients well. Pour batter into prepared pans. Baking time will vary depending on the size of the pans. For muffins, bake for about 20 minutes or until a toothpick inserted comes out clean. For bundt or cake pans, bake for about 35-40 minutes or until a toothpick inserted in the center comes out clean. Cool in pans for 10 minutes. Remove from the pans and cool completely on a wire rack. Make the icing by mixing together the powdered sugar and milk to desired consistency. Pour over cooled cake. Serve with fresh berries.
0 Comments
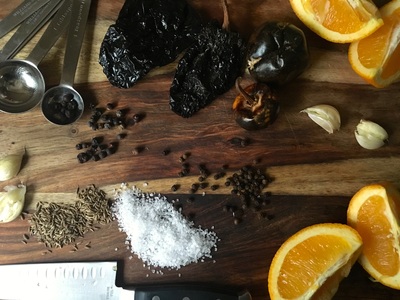
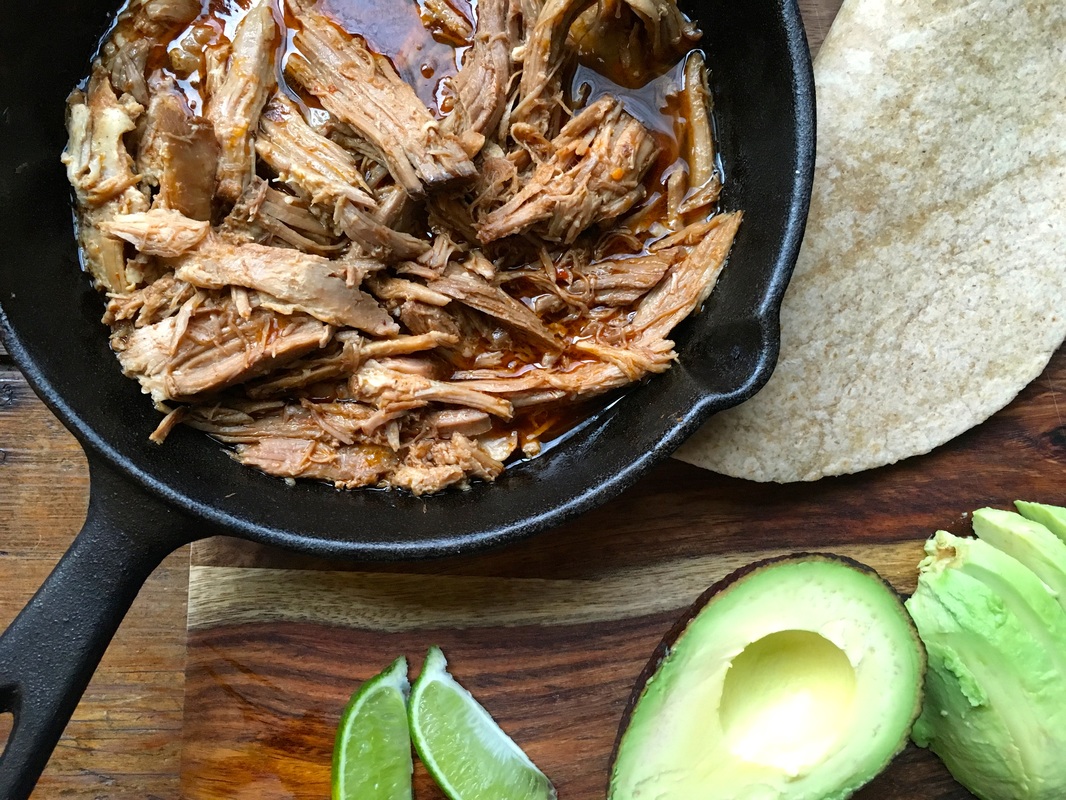 Forget Chipotle. Or Qdoba. Or any other tex-mex restaurant. You can make delicious carnitas at home using either an oven or crock pot. I give you both versions below. This recipe makes enough for leftovers and then some. I typically freeze the leftovers to make posole or chili at a later time. I can safely say for my family of 4, I can get at least 3 full meals out of this recipe, making it worth the full day of cooking and price of the pork shoulder. Additionally, the recipe calls for dried chilis. You can usually find these in the produce section of the grocery store (or in the ethnic section of the store). If you are lucky enough to live near a Mexican market, you can find all you need there. The Spice House and Penzey's Spices both sell dried chilis, too, if you want to order online. To grind chilis and whole spices, you need a coffee or spice grinder. The flavor is much more intense when you grind your own chilis compared to the ground spices found at the store. To clean the spice grinder after each use, grind white rice to a powder in the grinder. It should pick up most of the remaining spice. Carnitas
Toppings for the carnitas:
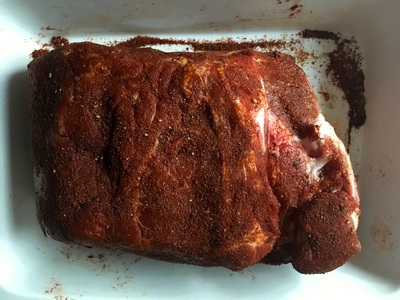
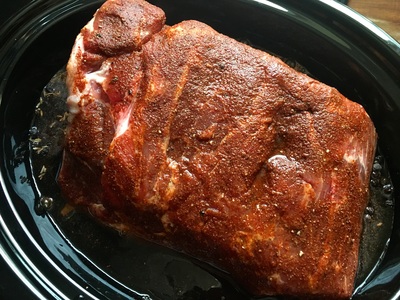
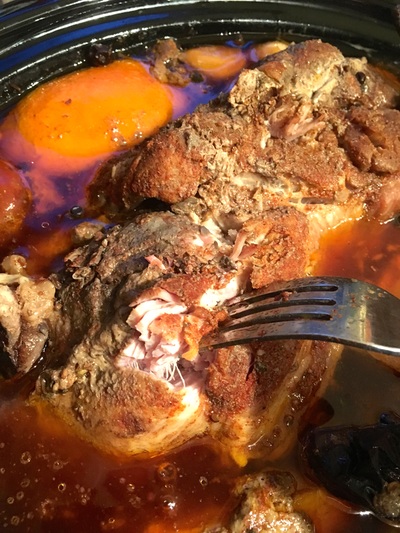
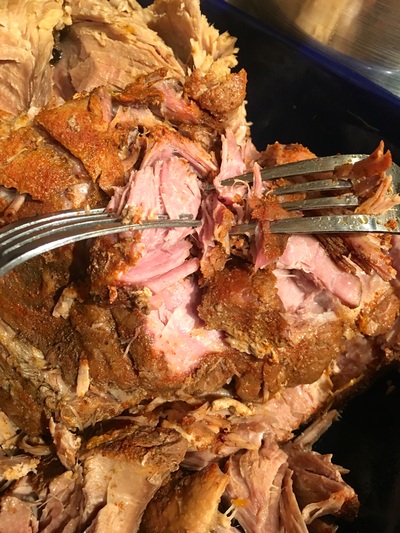
The night before cooking, dry rub the pork shoulder. In a small bowl, combine the 2 tablespoons chili powder and 1 tablespoon salt. Rub the entire pork shoulder with the spice mixture. Place in a dish, cover with plastic wrap and refrigerate overnight. Oven method: Preheat oven to 300ºF. Place the pork in a Dutch oven or roasting pan. Add the dried chili peppers, oranges, garlic, peppercorns, Juniper berries, cumin, and 2 teaspoons salt. Pour in enough water to cover the pork should by 3/4. Put the lid on (or cover with foil). Bake for 4-5 hours or until the pork is very tender and shreds easily. Crockpot method (the perfect method for those who work): Place the pork in a large crockpot. Add the dried chili peppers, oranges, garlic, peppercorns, Juniper berries, cumin, and 2 teaspoons salt. Pour in enough water to cover the pork should by 3/4. Put the lid on. Cook on low for about 8 hours or until the pork is very tender and shreds easily. Finish the carnitas: Remove the pork from the liquid. Strain the liquid (discard the solids) and pour it into a Dutch oven or other large pot. Skim off some of the fat that has accumulated on top. Allow the pork to cool slightly (maybe 20 minutes). Shred the pork with forks (or with your fingers) and add it to the pot with the cooking liquid. Season with the remaining seasonings. Add salt if needed. Cook over medium heat for 10 minutes or so. Serve with the toppings. Freeze leftovers for up to 6 months. 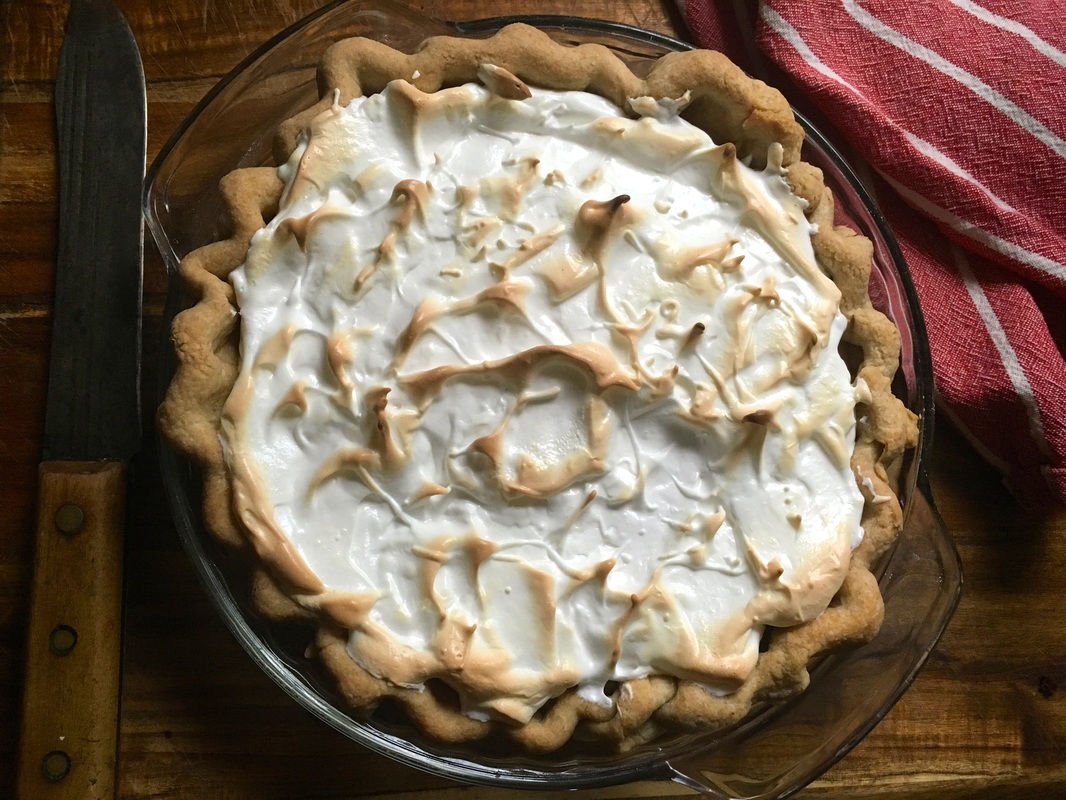 You need butterscotch pie. You just need one slice. It will make your day. My kids were skeptical when I made this. I field questions like: What is butterscotch? Is it served with ice cream? Butterscotch pie is a pudding-type pie (like Chocolate Cream Pie) and no, it is not served with ice cream. The kids were still on the fence about it. Until they tried it. And then they wanted more. The pie was gone in 24 hours. It was my 40th birthday recently (I tell everyone that I'm actually 28, so please keep my real age a secret) and I decided that instead of cake, I wanted birthday pie. Because I would rather eat pie than cake any day of the week. I have a serious weakness for pie. I could have made any kind of pie, but I chose this one because it reminds me of home. Grandma Clinger is not my grandmother. She's my stepsister and stepbrother's grandmother. But I remember Grandma Clinger and I remember her making this pie for my stepdad, since was his favorite. I guess reaching 40 (um, 28) made me a little sentimental this year. Plus, I also have a serious weakness for family recipes, especially ones from grandmothers. So... I made butterscotch pie. It was a rainy day when I made it and my meringue did not get as lofty as I had hoped. But honestly, the family didn't care. They ate it anyway. Grandma Clinger's Butterscotch Pie Yield: 1 9-inch pie Single Pie Crust:
Pie:
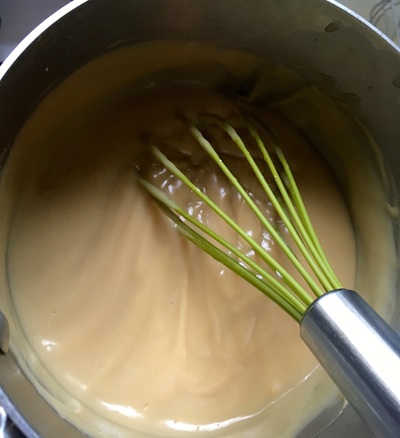
Make the Crust: Put the flour, sugar, and salt in the bowl of a food processor. Pulse for 30 seconds. Add the butter and pulse for 20-30 seconds until it resembles coarse crumbs. With the motor running, add the water through the top. Pulse until the dough starts to come together. Place the dough onto the counter and press into a disk. Wrap in plastic and refrigerate for at least 1 hour. This can be made up to 2 days ahead of time. Preheat the oven to 400ºF. On a lightly floured surface, roll the dough into a 12-inch circle. Gently place the dough into a 9-inch pie plate. Trim off the excess edges to leave a 1 inch overhang. Tuck the edges under and decoratively crimp the crust. Poke the bottom of the crust with a fork. Place a large piece of foil in the pie crust. Fill with dried beans, rice, or pie weights, making sure it reaches the sids of the crust (this helps prevent it from shrinking down). Bake for 15 minutes. Remove from oven and remove the foil and dried beans/rice/pie weights. Reduce oven temperature to 375ºF. Bake the crust for an additional 15 minutes. Cool pie crust completely on a wire rack. Make the Pie Filling: In a 2-quart saucepan, combine the brown sugar and water. Bring to a boil over medium heat for 5 minutes, stirring constantly until it becomes a thick syrup. Be careful not to burn it. In a small bowl, stir together a 1/4 cup milk and the cornstarch to make a slurry. Stir in the rest of the milk. Pour the milk mixture into the brown sugar syrup. Cook for 5 minutes over medium low heat. Place the egg yolks in a bowl and whisk slightly to break them up. To temper the egg yolks, whisk in a 1/4 cup of the hot milk mixture into the egg yolks. Pour the egg yolk mixture into the pan with the rest of the milk. Cook the mixture over medium heat until thick, about 2-5 minutes. It should look like pudding. The mixture is thickened when it starts to bubble/boil. Turn off the heat and stir in the butter and vanilla. Pour the filling into the pie crust. Cover the surface of the filling with wax paper. Let it sit at room temperature for 30 minutes; then refrigerate it for at least 2 hours before making the meringue. Finish the Pie:
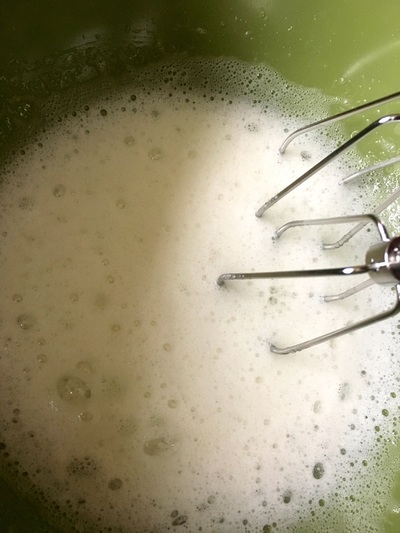
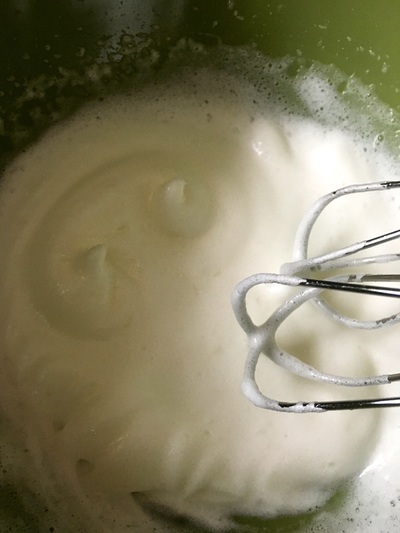
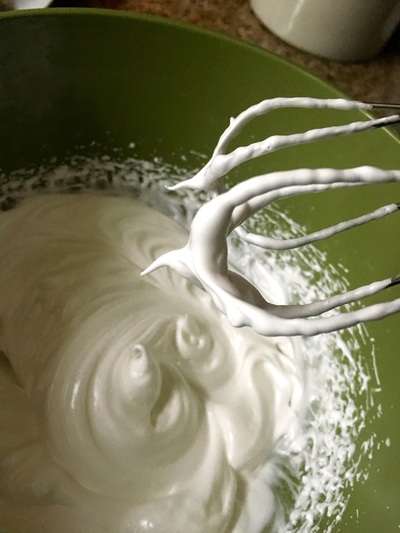
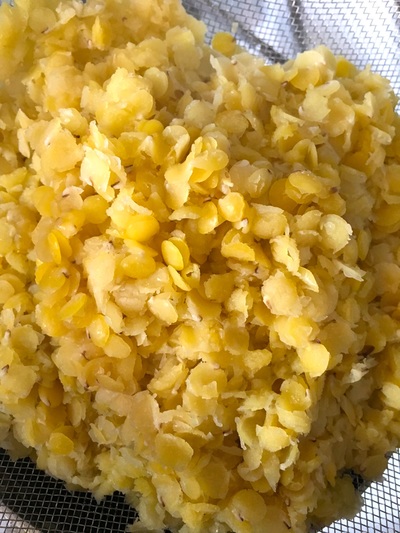
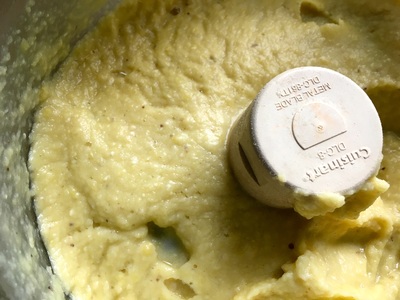
Preheat the oven to 400ºF. Using an electric mixer, whip the egg whites until foamy. Add the cream of tartar. Whip until soft peaks form. Gradually add the sugar. Whip the whites until they form stiff peaks and are glossy. Spread the egg whites over the filling, making sure it reaches the edges of the crust. Bake for 8-10 minutes. Remove from the oven and allow it to cool. Refrigerate the pie until ready to serve. *Eggs are best separated when they are cold. Also, the egg whites will whip up better when they are at room temperature. 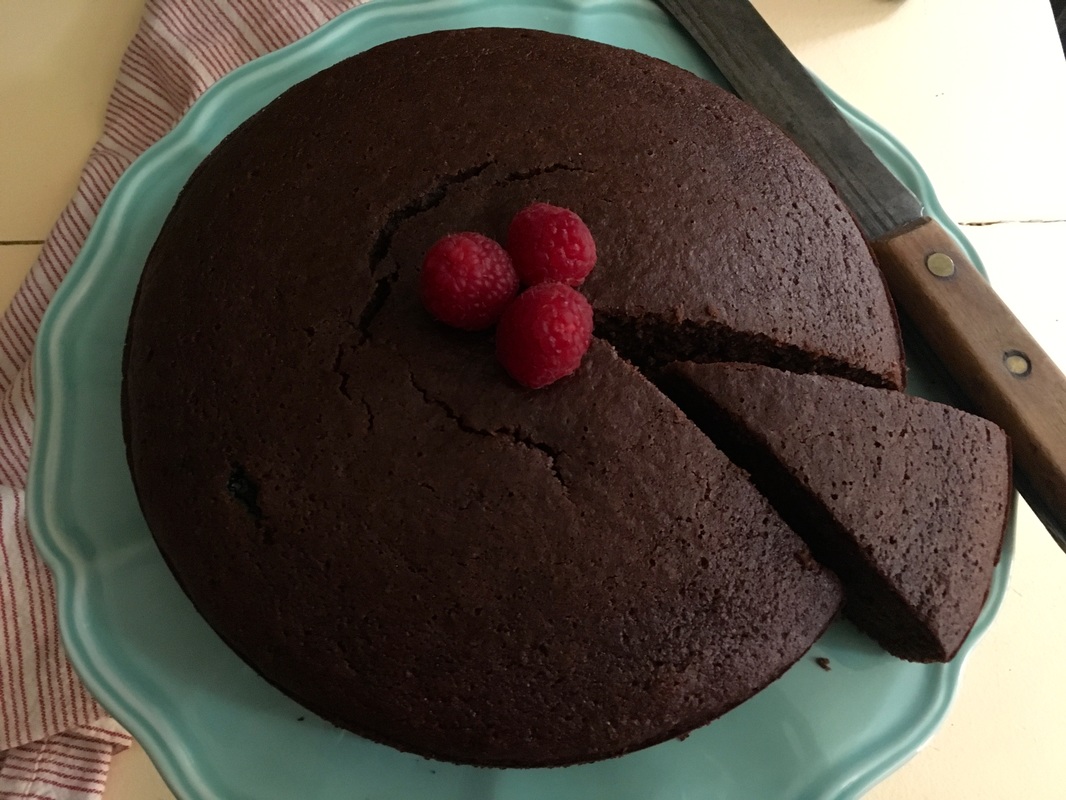 This cake contains lentils. Yes. Lentils. But... you won't know there are lentils in the cake. They provide a little structure and moisture to the cake since it calls for whole wheat flour while hanging out in the background. Trust me, you cannot taste the lentils. My son, who happens to shun most vegetables (except for tomato sauce), devoured this cake. I would venture to say that this cake just might be healthy. But I won't say that, should my kids be reading this. I'll just say that it tastes delicious. Served with a dollop of sweetened whipped cream and fresh berries and you have a lovely little dessert that is the perfect end to a meal. Heck, you can even double the recipe, make a chocolate frosting, and have yourself a chocolate layer cake perfect for birthdays. In case you are wondering, I have a gluten free version of this cake. I just have not made it yet. Will get on that soon. One thing to note: I spent a few years developing lentil recipes. You can soak the lentils overnight if you want to in order to release more nutrients. Chocolate Lentil Cake Yield: 1 9-inch cake Lentil puree: 1/2 cup yellow or red lentils 1 1/2 cups water Cake: 3/4 cup granulated sugar 1/4 cup honey 1/3 cup olive oil 2 large eggs 3/4 cup lentil puree 2/3 cup water 1/2 teaspoon vanilla extract 1 1/4 cups whole wheat flour 1/4 cup cocoa powder 1/2 teaspoon baking soda 1/2 teaspoon Espresso powder 1/2 teaspoon salt Lentil puree: Place the lentils and water in a small saucepan. Bring to a boil. Cover and reduce heat to low. Cook until the lentils are tender, about 25 minutes. Drain. Reserve a couple tablespoons of liquid. Place the lentils in a food processor. Pulse until smooth. Add a little of the reserved liquid if the puree seems too dry. Allow to cool slightly before making the cake. The puree will keep in the refrigerator for 3-4 day or can be frozen for later use. Chocolate Cake
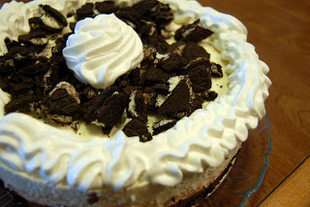
Preheat oven to 350ºF. Grease the bottom and sides of a 9-inch cake pan. Line the bottom of the pan with parchment paper. Lightly grease the paper. In a mixing bowl, combine the sugar, honey, and olive oil. Add the eggs, lentil puree, water, and vanilla extract. Whisk until smooth. In a small bowl, whisk together the flour, cocoa powder, baking soda, espresso powder, and salt. Add the dry ingredients to the wet mixture, mixing well. Whisk until smooth. Pour batter into prepared pan. Bake for 30-35 minutes or until a toothpick inserted into the center comes out clean. Remove from the oven and cool completely on a rack for 10 minutes. Remove the cake from the pan. Cool. Dust with powdered sugar and serve with sweetened whipped cream and fresh berries. 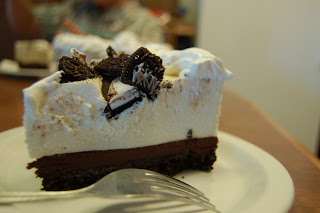 Long ago and far away, I cooked at a small restaurant in Ohio. Even though I worked the line, I was also in charge of the desserts we served. So for one New Year's Eve, we served this dessert. I can't remember how many I made but I remember being covered in Oreos and white chocolate mousse for most of the day. This one of those desserts that is just... insanely good. I have not made it in many years (the photos posted are old) but I would be willing to make this for any dinner party or gathering. People will love it. The torte needs at least 6 hours to chill before serving. Just a fair warning. White Chocolate Mousse Torte with Oreo Cookie Crust Crust:
Filling:
Topping:
For the crust: Butter a 10-inch springform pan. Finely grind the Oreos in a food processor. Add melted butter and blend until combined. Press the cookie mixture onto the bottom of the springform pan. Bring the cream to a simmer in saucepan. Reduce heat to low. Add the semi-sweet chocolate and whisk until melted and smooth. Pour chocolate ganache over Oreo crust. Chill. For the filling: Combine the white chocolate and 1 cup cream in a bowl placed on top of simmering water. Stir until melted and smooth. Remove from over water. Cool to barely lukewarm. Sprinkle the gelatin over 1/4 cup water in a small saucepan. Let stand for 10 minutes to soften. Place on stove over low heat; stir until gelatin dissolves. Pour the gelatin into a mixing bowl. Add the remaining 2 cups of cream and vanilla. Beat cream-gelatin mixture until soft peaks form. Beat in white chocolate mixture. Pour filling into crust. Refrigerate until filling is set, 6 hours or overnight. Topping: Run a small knife around the edges of the pan to loosen the sides. Release the pan sides. Pipe the whipped cream on the top and sprinkle with crushed Oreo cookies. Serve. 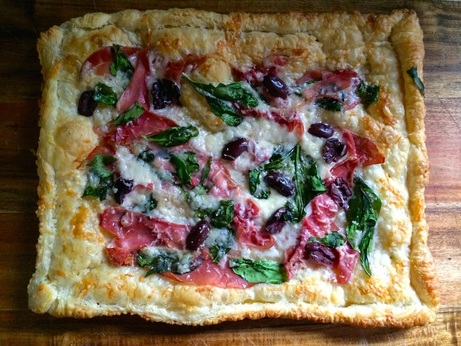 Puff pastry is for more than just tasty little tarts. You can use it for savory dishes as well. Instead of making pizza crust, try using puff pastry. It will turn out flakier (much more so) than traditional pizza dough but it adds a little buttery goodness along with a light airy crunch. This recipe would also make a great appetizer. It's easy to throw together and bake and would be good for tailgating or even if you want to impress your mother-in-law. Whichever. Before you begin, be sure to thaw the puff pastry according to package directions. Puff Pastry Tart with Prosciutto and Spinach Serves 4-6
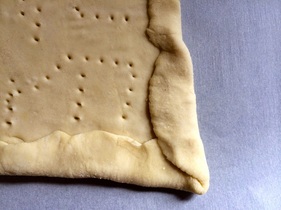
Preheat the oven to 400ºF. Line a baking sheet with parchment paper. Set aside. On a lightly floured surface, roll the puff pastry into a 12x8-inch rectangle. Transfer the pastry to the baking sheet. Fold in each side of the pastry by a 1/2-inch to create a border. Make several marks with a fork in the center of the puff pastry (see photo below). This helps prevent the center from puffing up too much while it bakes. Decoratively (like you are making a pizza), place the slices of the prosciutto, spinach, and olives in the center of the pastry. Sprinkle the top with both of the cheeses. Bake in the hot oven for 15 minutes or until golden brown. Remove and cut into squares. Serve warm.  I'm guessing you probably wouldn't put brussels sprouts in a soup. In fact, I was never a big fan of brussels sprouts until I realized that they didn't need to be boiled to death and doused in vinegar (the way my mom served them). All they needed was to be made correctly and served with bacon. Because bacon makes everything taste better. Including brussels sprouts. Bacon is the gateway drug for vegans and vegetarians. So, here we have a hearty brussels sprout soup. I had leftover chicken and potatoes to use up, but you can make this with raw chicken and potatoes. It will just need some extra cooking time. Hearty Brussels Sprout Soup Serves 6
In a stock pot or Dutch oven, heat the olive oil over medium heat. Add the bacon and render down until crispy. Remove bacon from the pan. Set bacon aside. Add the shallots and garlic to the hot oil. Saute for 2-3 minutes. Add the brussels sprouts. Saute for 4-5 minutes. Season lightly with salt and pepper. Add the potatoes, chicken, and stock. Reduce heat to medium low and cook the soup until the potatoes are fork tender (for raw potatoes, about 15 minutes). Stir in the cream. Adjust seasonings with salt and pepper. Serve topped with the bacon bits. |
New Book!Shining Star Archives
October 2022
Recipe Categories
All
|
Home |
About |
Resources |
About Marcy |
Contact |
Copyright © 2015




 RSS Feed
